
DIY Projects to Enhance Your Outdoor Kitchen and Dining Area
Transforming your outdoor kitchen and dining area into a functional, stylish, and welcoming space doesn’t have to break the bank. With a few DIY projects, you can add personal touches and improve the utility of your outdoor space. Here are some exciting and practical DIY projects to enhance your outdoor kitchen and dining area.
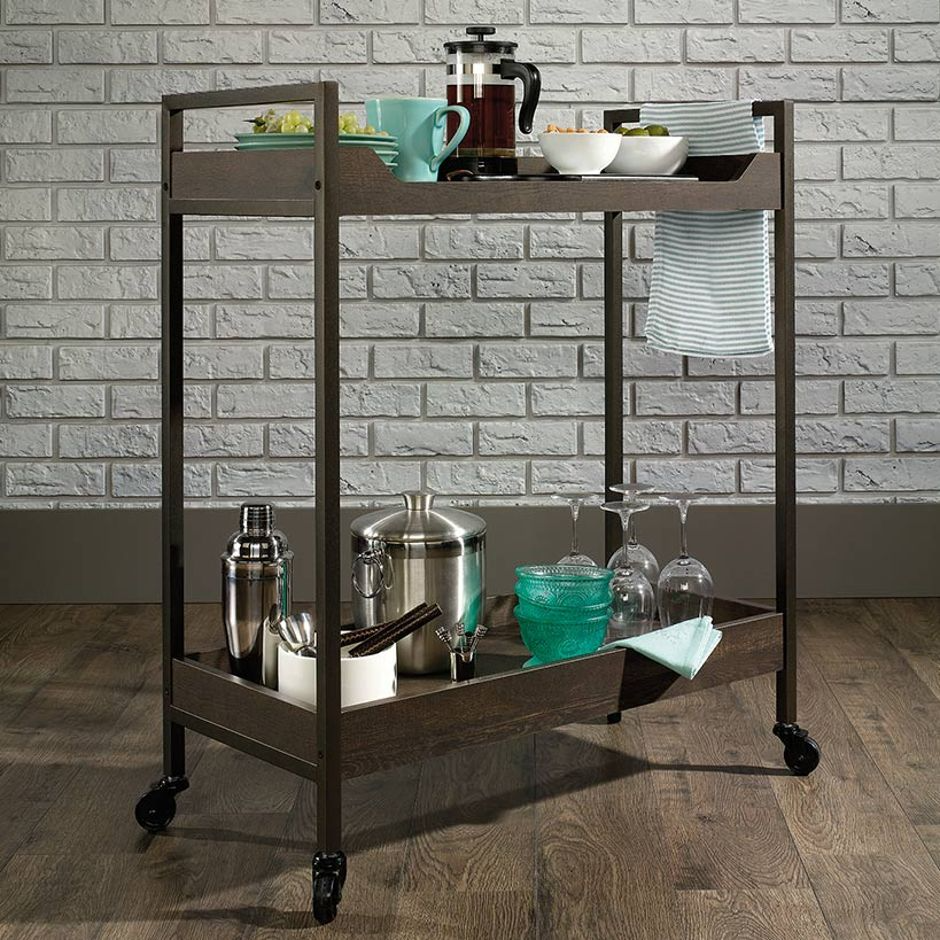
1. Build a Custom Outdoor Bar
Materials Needed:
- Wooden pallets or reclaimed wood
- Screws and nails
- Sandpaper and wood stain
- Bar stools
Steps:
- Design and Measure: Determine the size and shape of your bar. Measure and cut the wood accordingly.
- Assemble the Frame: Build the frame using the wooden pallets or reclaimed wood.
- Sand and Stain: Sand down rough edges and stain the wood for a polished look.
- Install Shelves: Add shelves behind the bar for storing glassware and bottles.
- Add Bar Stools: Place bar stools around the bar for seating.
Benefits:
- Provides a focal point for entertaining.
- Increases storage and counter space.

2. Install a Pergola
Materials Needed:
- Pergola kit or treated lumber
- Screws and brackets
- Drill and saw
- Outdoor fabric or climbing plants (optional)
Steps:
- Choose a Location: Select a spot that provides shade and complements your outdoor kitchen.
- Assemble the Pergola: Follow the pergola kit instructions or build from scratch using treated lumber.
- Secure the Pergola: Ensure it is firmly anchored to withstand weather conditions.
- Add Shade: Drape outdoor fabric over the top or plant climbing plants for natural shade.
Benefits:
- Offers shade and protection from the elements.
- Creates a defined outdoor dining area.
3. Create a Stone Pizza Oven
Materials Needed:
- Firebricks
- Cement and sand
- Refractory mortar
- Metal door (optional)
- Chimney flue
Steps:
- Lay the Foundation: Build a solid foundation using cement blocks.
- Construct the Oven Base: Use firebricks to create the base, following a circular shape.
- Build the Dome: Form the dome with firebricks and secure with refractory mortar.
- Add the Chimney: Install the chimney flue for proper ventilation.
- Cure the Oven: Allow the oven to dry and cure before use.
Benefits:
- Enhances outdoor cooking capabilities.
- Adds a rustic, authentic element to your kitchen.
4. DIY Outdoor Kitchen Cabinets
Materials Needed:
- Plywood or marine-grade wood
- Outdoor paint or sealant
- Screws and hinges
- Handles and knobs
Steps:
- Measure and Cut: Determine the dimensions and cut the wood accordingly.
- Assemble the Cabinets: Build the frame and attach the doors using screws and hinges.
- Paint or Seal: Apply outdoor paint or sealant to protect the wood.
- Install Handles: Add handles or knobs to the doors.
Benefits:
- Provides organized storage for cooking utensils and supplies.
- Customizable to fit your space and needs.
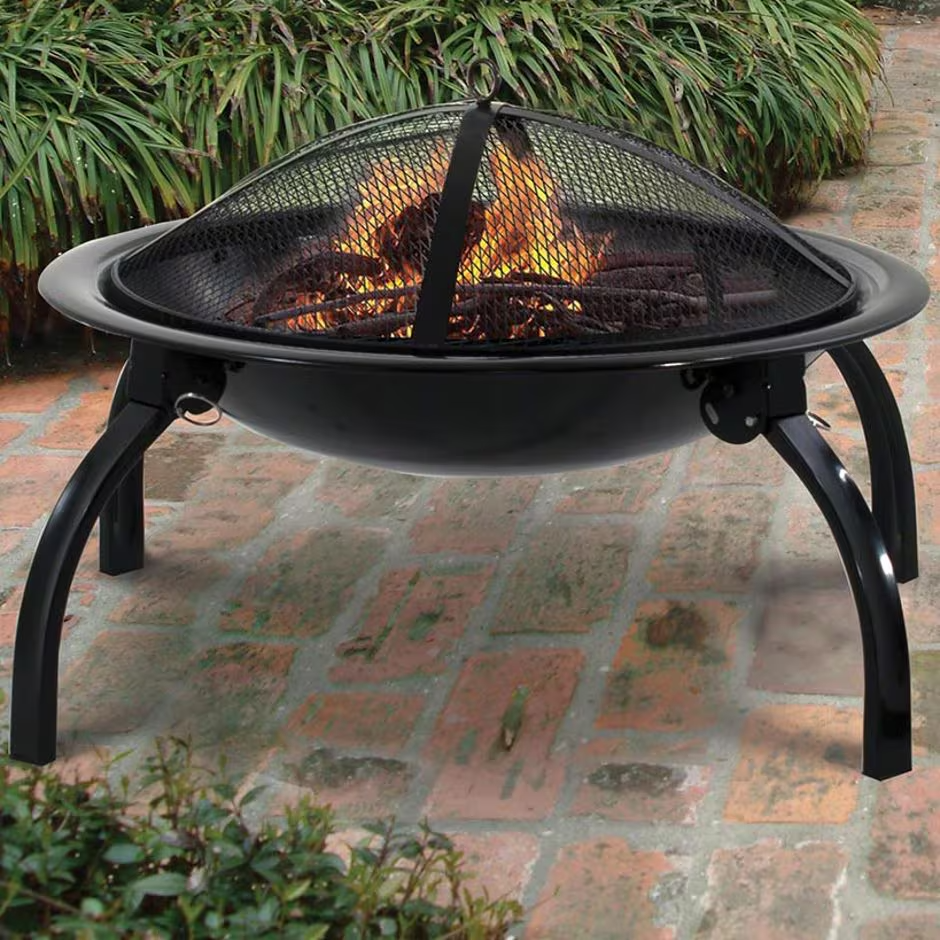
5. Construct a Fire Pit Table
Materials Needed:
- Metal fire pit ring
- Pavers or bricks
- Cement
- Tabletop material (wood, granite, etc.)
Steps:
- Lay the Foundation: Create a solid base using pavers or bricks and cement.
- Install the Fire Pit Ring: Place the metal fire pit ring in the center.
- Build the Surrounding Structure: Construct the outer structure using pavers or bricks.
- Add the Tabletop: Place a tabletop around the fire pit ring, ensuring enough space for drinks and snacks.
Benefits:
- Provides warmth and ambiance.
- Doubles as a dining or coffee table.

6. Outdoor Lighting Solutions
Materials Needed:
- String lights
- Solar-powered path lights
- Lanterns
- Extension cords and hooks
Steps:
- Plan the Layout: Determine where you want to place the lights for maximum effect.
- Hang String Lights: Use hooks and extension cords to hang string lights around your dining area.
- Install Path Lights: Place solar-powered lights along walkways and around the kitchen area.
- Add Lanterns: Use lanterns to add a cozy glow to tables and countertops.
Benefits:
- Enhances ambiance and visibility.
- Adds a stylish touch to your outdoor space.
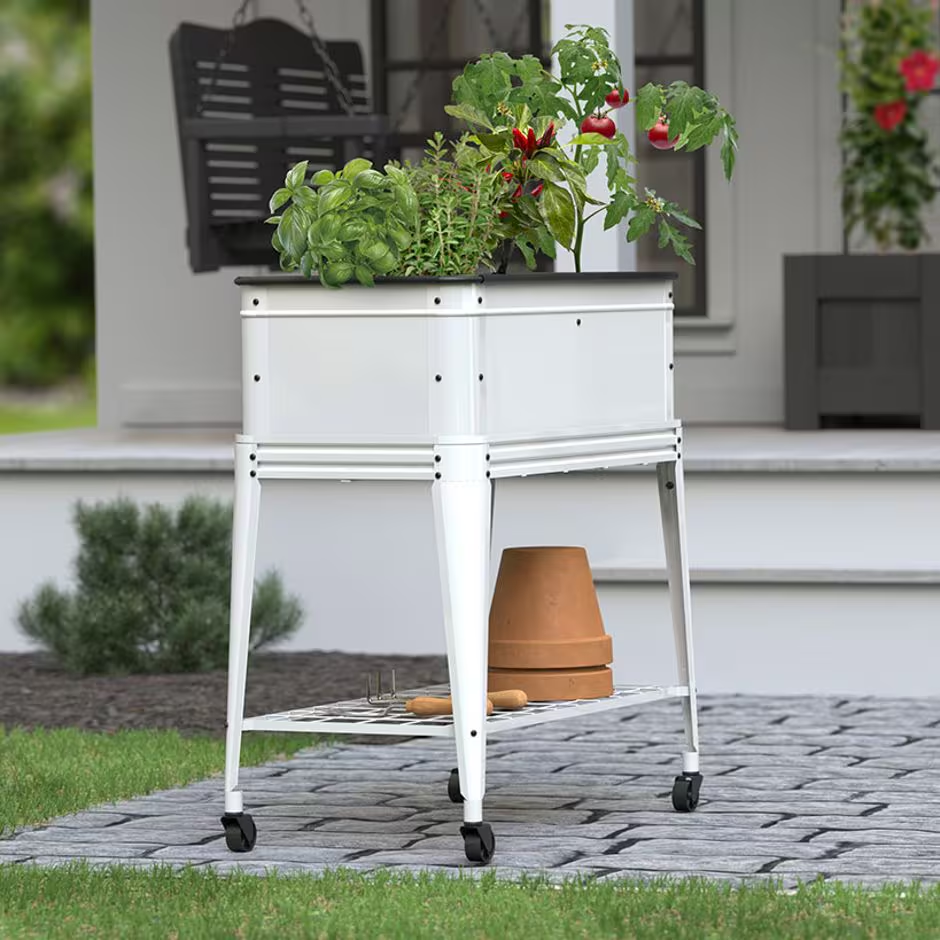
7. DIY Herb Garden
Materials Needed:
- Planter boxes or pots
- Potting soil
- Herb plants (basil, rosemary, thyme, etc.)
- Labels
Steps:
- Choose a Location: Select a sunny spot near your outdoor kitchen.
- Prepare the Planters: Fill planter boxes or pots with potting soil.
- Plant the Herbs: Place herb plants in the soil, leaving space between each plant.
- Label the Plants: Use labels to identify each herb.
Benefits:
- Provides fresh herbs for cooking.
- Adds greenery and a natural element to your kitchen.
8. Build a Rustic Outdoor Dining Table
Materials Needed:
- Wooden planks
- Screws and nails
- Sandpaper and wood stain
- Table legs or trestles
Steps:
- Measure and Cut: Determine the size of your table and cut the wood planks accordingly.
- Assemble the Tabletop: Attach the planks together using screws and nails.
- Sand and Stain: Sand down the surface and edges, then apply wood stain.
- Attach the Legs: Secure table legs or trestles to the tabletop.
Benefits:
- Creates a custom, rustic dining area.
- Durable and perfect for outdoor use.
By taking on these DIY projects, you can enhance the functionality, aesthetics, and enjoyment of your outdoor kitchen and dining area. Each project offers unique benefits, making your outdoor space more inviting and personalized. So roll up your sleeves, gather your materials, and get started on transforming your backyard into an outdoor oasis.


